


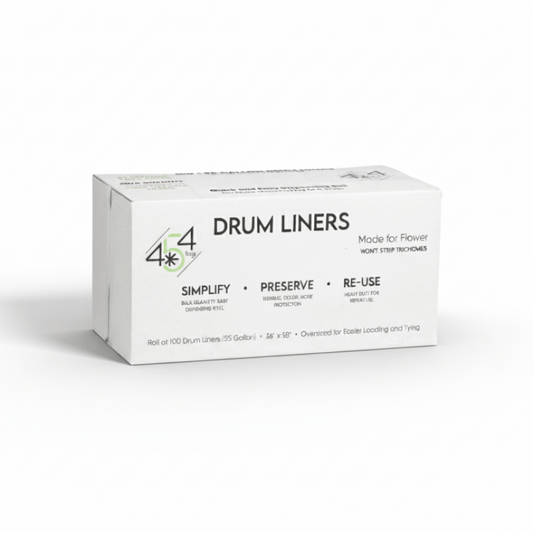

The service at 454 is great. We are happy with the product. It fits with our production well. My only reservation is the price of shipping. I think the shipping cost is particularly high. I'm not sure if this is just a pass thorough?
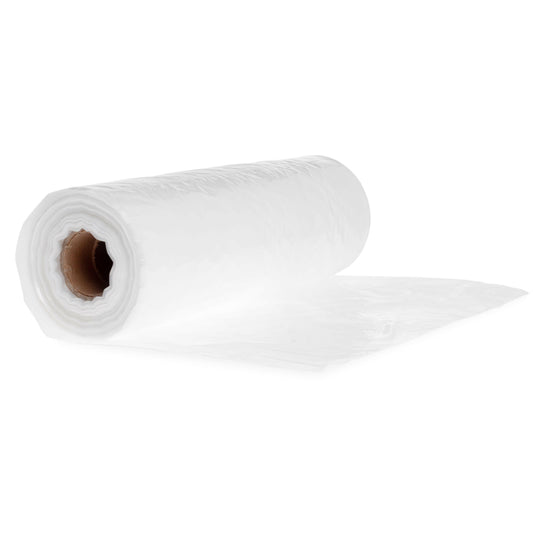
Hey Dominic, glad to the liners are working good for you.
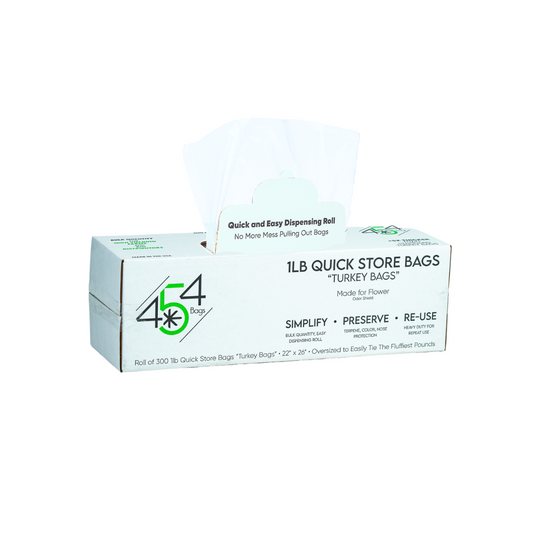
We do free shipping actually. At checkout you selected the expedited, FedEx 2day shipping.
We are going to refund you the expedited shipping cost on this order.
It's doing everything that It's supposed, so far!
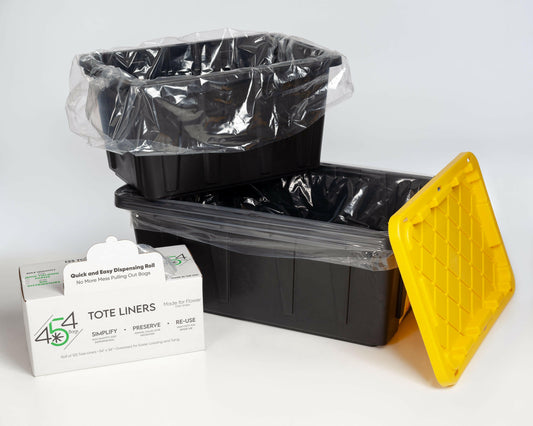
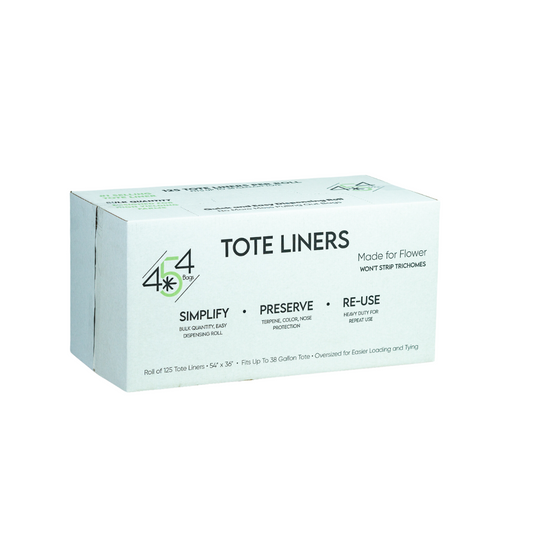
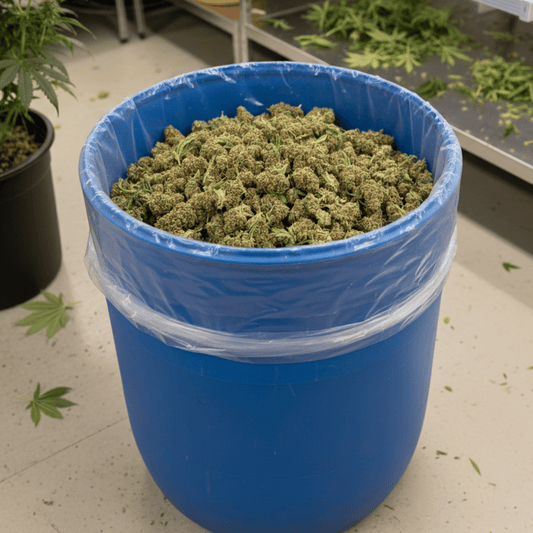
Love this! Game changer for getting our buds in bags at the right time with no guesswork!
Simple and easy!
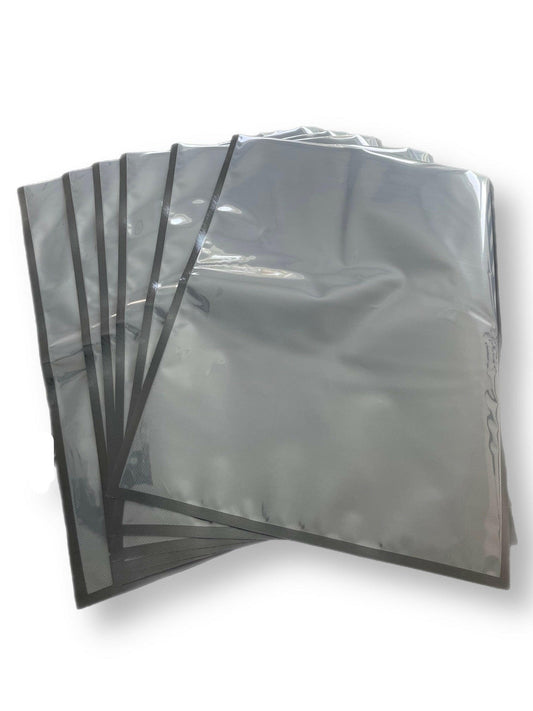
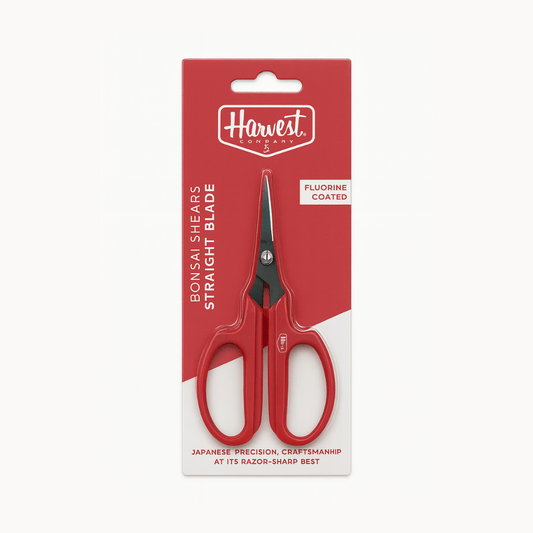
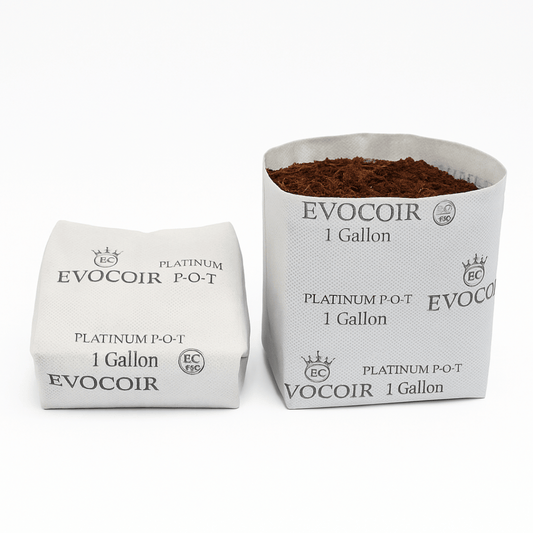
I was impressed with the quality
0 comments